PCM1793這顆DAC IC應該算小弟玩耳機系統第一台DAC的解碼晶片
那時組裝的是KECES的DAC1793套件
而最近幫某位朋友組裝一塊也是用此解碼晶片的DAC模組
首先, 先來看DAC模組
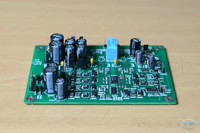
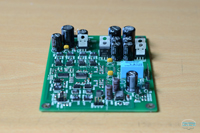
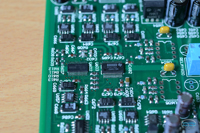
接收晶片為DIR9001, DAC晶片為PCM1793
如果當初有買過此塊模組, 相信對於此塊的穩壓與Layout一定印象深刻
因為一般套件幾乎看不到這樣的設計
按照朋友的需求, 希望使用兩組雙電源穩壓
參考DAC模組的裝機說明, 變壓器就決定使用一顆T9變壓器與一顆藍殼變壓器
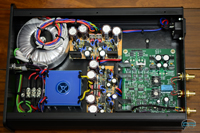
各模組與變壓器的擺位橋一段時間後, 終於可以塞進機箱內
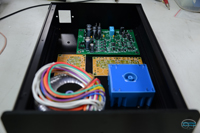
再來, 將穩壓模組組裝起來
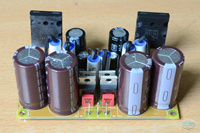
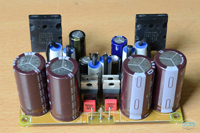
最後, 剩配線就算完成了
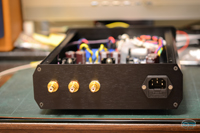
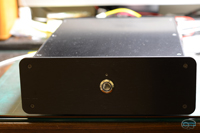
正面照與背面照
RCA端子由左而右分別是COAX輸入, 右聲道輸出, 左聲道輸出
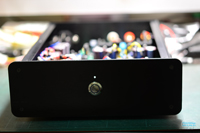
蓋上上蓋
雖然距離上次組裝KECES的DAC1793套件有好幾年了
不過我可以確定這兩塊DAC模組聲音還是有明顯不同
聲底相信是差不多的(畢竟同一顆DAC晶片)
但此塊模組背景真的夠黑, 下盤很穩
剛開聲是有些刺耳, RUN一段時間有好一些
雖然還想多RUN一段時間, 不過該還給朋友了


 , 不過該前輩作品應該都沒量產)